In this guide, you will learn how to connect your e-shop with the Számlázz.hu service. This system creates invoices that are valid for the Hungarian market, sending invoices to the Hungarian Financial Administration (NAV) and optionally, directly to your customer. To use this service, the country setting of your e-shop must be set to Hungary.
The invoices created by Számlázz.hu are in accordance with Hungarian legislation, which applies to all shops within Hungary. If your business is based in another country and you only sell your goods to Hungary, this legislation does not apply.
The ability to connect Webnode to this service is a premium feature available in the Business Plan.
How the connection with Számlázz.hu works
After a customer pays for an order, an XML file with the details of the customer, seller and order is sent to the Számlázz.hu system. It then generates a PDF invoice, which is available directly in Számlázz.hu. The invoice is not sent back to Webnode and is therefore not saved in the editor's administration. You can make all adjustments directly within the Számlázz.hu administration. These invoices are then sent directly to the customer of your e-shop and also to the Hungarian Financial Administration.
Order management and currency information
When the Számlázz.hu extension is turned on, the Invoice column is not displayed in the order list, nor is it possible to work with the invoice in the order details, as invoices are created and sent directly via Számlázz.hu.
In the case of orders that were paid (or had invoices sent) before the Számlázz.hu status was activated, this does not apply and Webnode invoices can be sent by default.
If you delete an order in the Webnode system, no action is taken within the Számlázz.hu administration. This must be resolved directly in Számlázz.hu. Likewise, if an order is deleted in Számlázz.hu, it is not automatically deleted in Webnode order management.
If you are interested in modifying the order, this is possible by default. In the case of an order that has already been paid (and therefore transferred to the Számlázz.hu system), adjustments will also need to be made directly in Számlázz.hu.
If you decide to stop using the Számlázz.hu service, all orders that have not been paid for in Számlázz.hu will be transferred to Webnode invoices with the status Unshipped.
The Számlázz.hu service works primarily with the Hungarian forint (HUF) currency. If the Hungarian forint is not set as primary currency and Számlázz.hu invoicing is active, all payments made in other currencies are converted to forints using the current exchange rate of the Hungarian National Bank.
Connecting your e-shop with the Számlázz.hu service
You must register with Számlázz.hu before you can connect your e-shop.
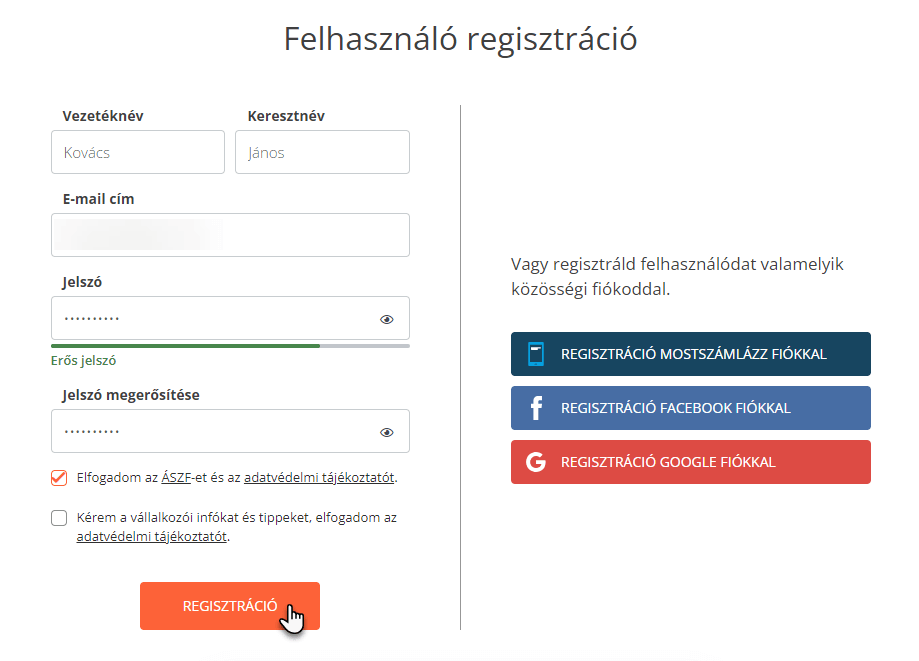
1. On the Számlázz.hu website, click Regisztáció (Register).

2. Fill in your new user login information (not Webnode login) and click the Regisztáció (Register) button.
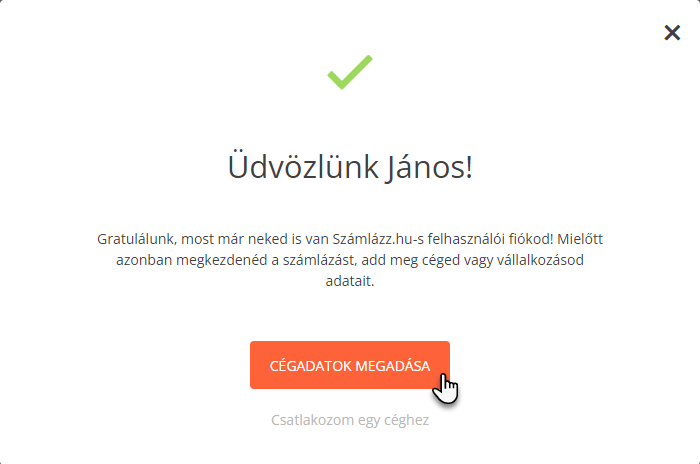
3. Next, click on Cégadatok megadása (Enter company data).
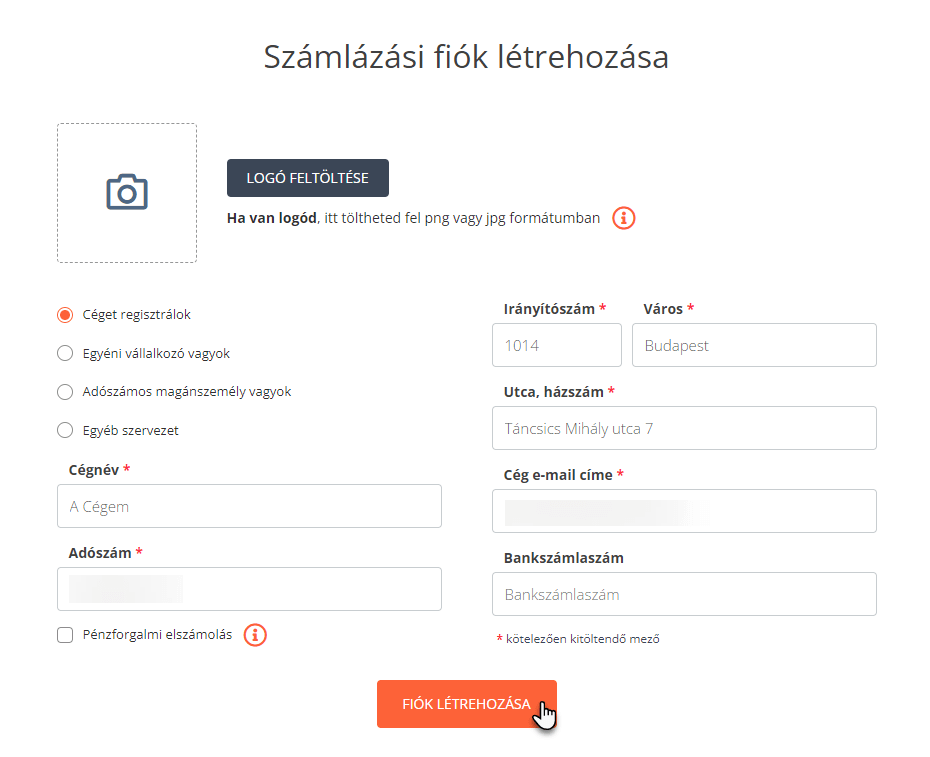
4. Enter the details about your company and confirm with Fiók létrehozása (Create account).
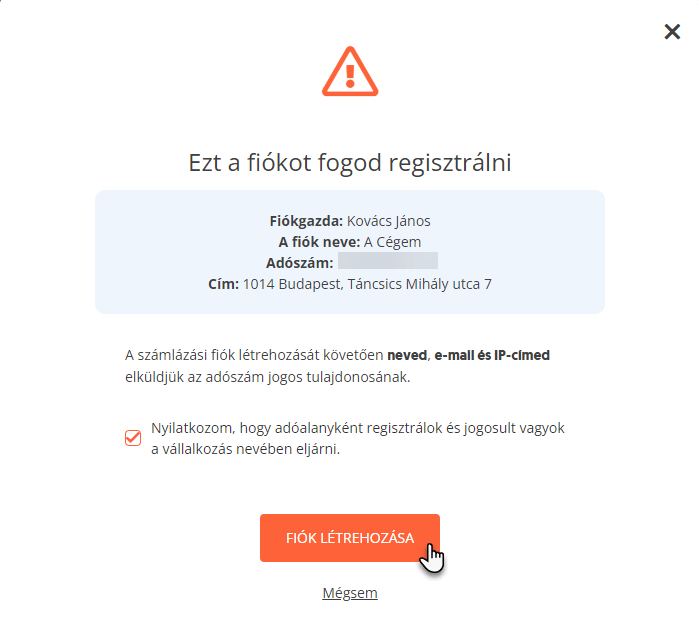
5. Confirm again with Fiók létrehozása (Create account).
6. Select the option Később kötöm össze (I will connect later).
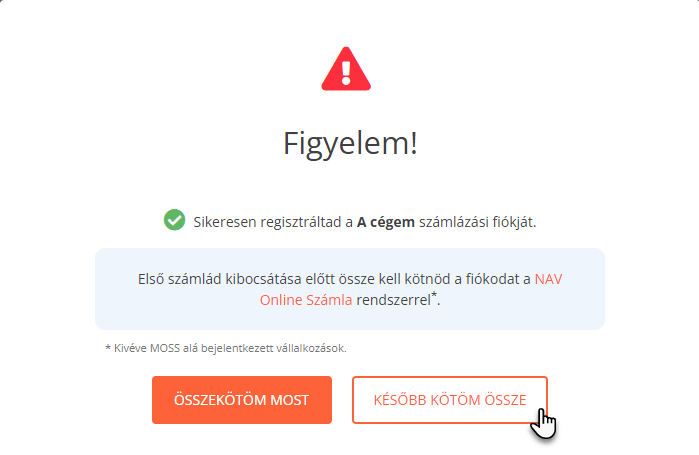
7. You should now be redirected to the main page. Scroll down and click on the key icon in the Számla Agent kulcsok (Account Agent Keys) section.

8. Your key has now been generated.

TIP: You can find more information on setting up the Számlázz.hu service directly in their help section.
You will now need to change settings within your Webnode e-shop.
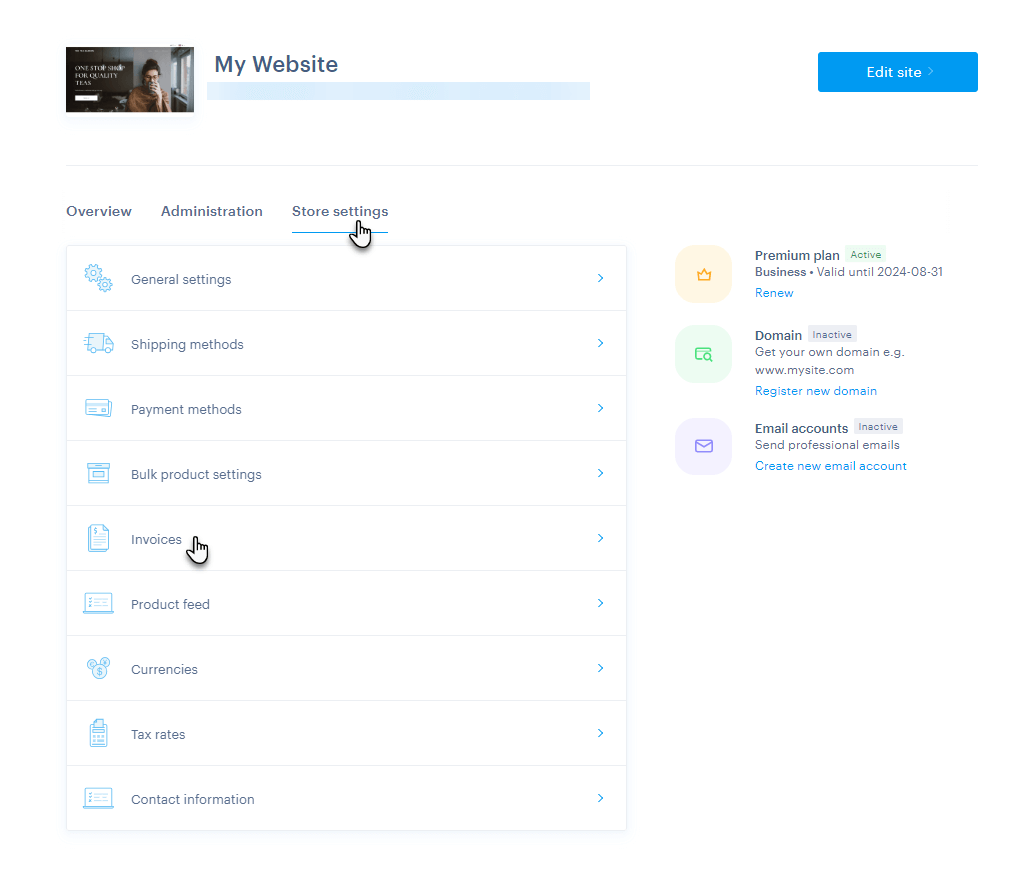
1. In the project administration, click on Invoices in the Store Settings section.
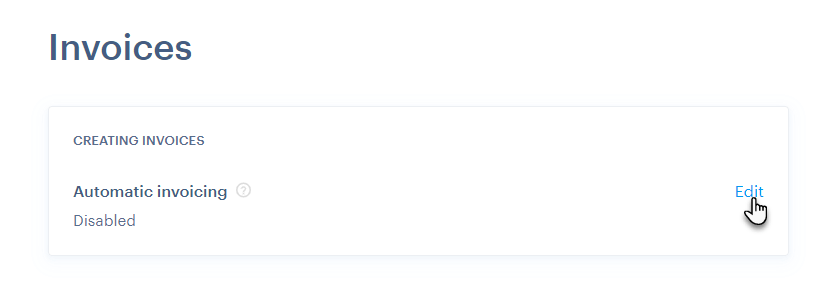
2. In the Creating Invoices section, click Edit.
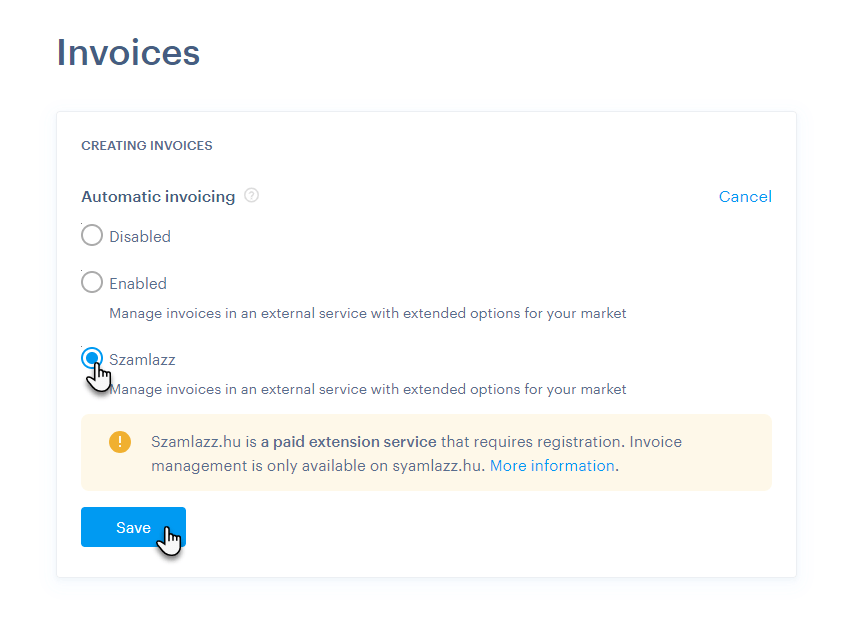
3. Select the Szamlazz option and confirm with the Save button.
4. Now the Szamlazz API Key window will appear in which you should click Edit.
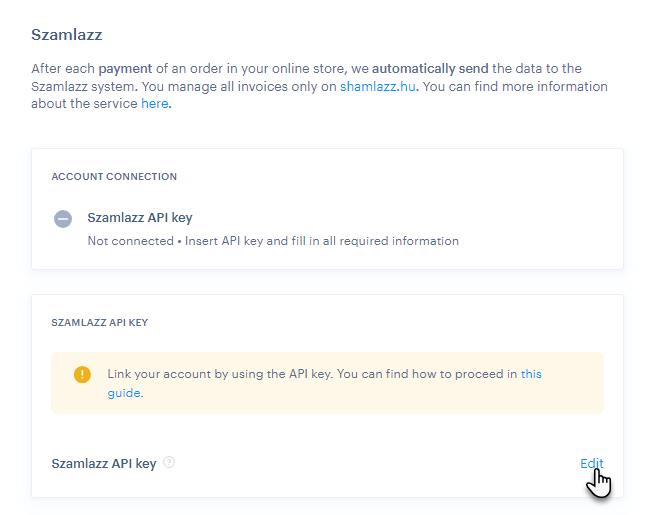
5. Insert the key that was generated on the Számlázz.hu website (see point 8 in the first part of this guide). Click the Save button.
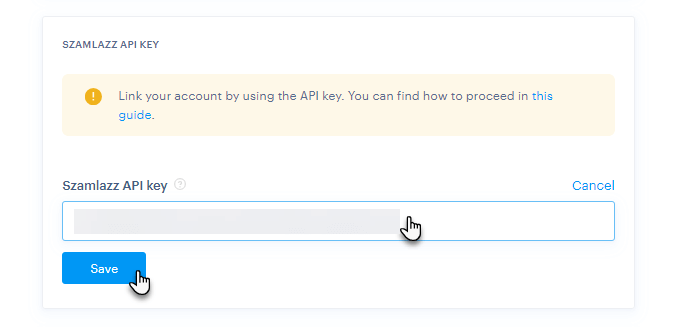
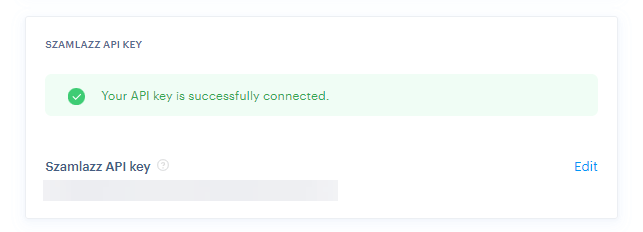
6. When you have properly entered your key, you will see the message "Your API key is successfully connected".
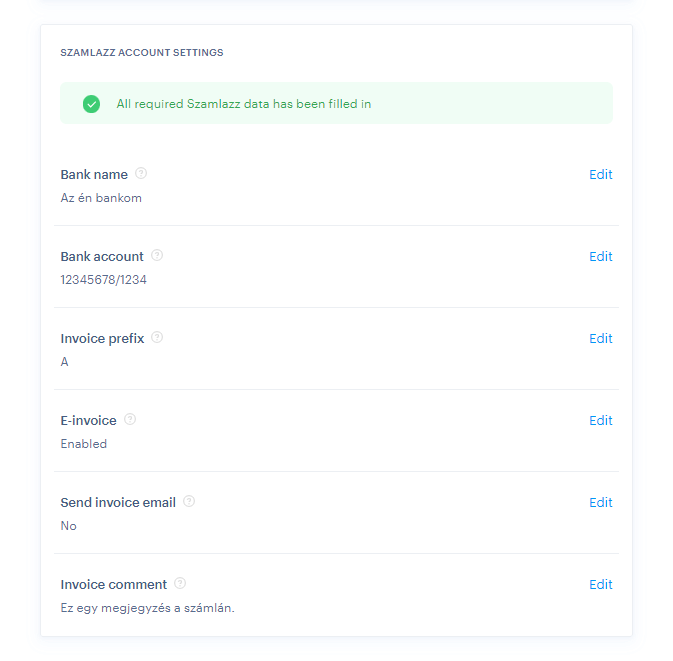
7. Next, in the Szamlazz account setting section, you will need to enter information about the Számlázz.hu account and set your account preferences. Simply click an Edit button, fill in the required field, or turn one of the functions on or off, then save the changes with the Save button. All fields must be set. For example, even if you want to leave E-invoice as Disabled, you must click on Edit and confirm this with the Save button.
Details of each setting:
Bank name: Fill in the name of your bank here.
Bank account: Enter your bank account number in this field.
Invoice prefix: Enter the prefix here, which was generated within the Számlázz.hu service. You can obtain this by logging into the Számlázz.hu service on this page.
E-invoice: Here you can choose whether invoices will be in electronic form only (Enabled). If you select the Disabled option, invoices will always need to be printed.
Send invoice email: Here you turn on or off the automatic sending of invoices through the Számlázz.hu service. If you choose Yes, invoices will be sent automatically. If No, they will need to be sent manually from the Számlázz.hu administration.
Invoice comment: In this field you can enter a comment that will appear at the bottom of invoices.
After editing the given fields properly, you will see the message "All required Szamlazz data has been filled in".
ATTENTION: If you see the error message "To connect the service, fill in all the required information.", you probably forgot to fill in a field or choose an option in the Szamlazz account settings section.

TIP: Any problems should be resolved directly with the customer support of the Számlázz.hu service, as invoices are created directly through their system. You can find a list of possible issues directly on the Számlázz.hu website.
