This article is designed to help you work with the Webnode editor for your online store. The editor for the online store is the same editor used to create websites with Webnode. If you are designing a website with Webnode for the first time, it is recommended that you familiarize yourself first with the Webnode editor. Some of these key features would be adding new sections, images, pages or changing the background of your website. This article gives you a structured overview of the basic functions of the editor complete with links to other articles with more detailed information for each feature.
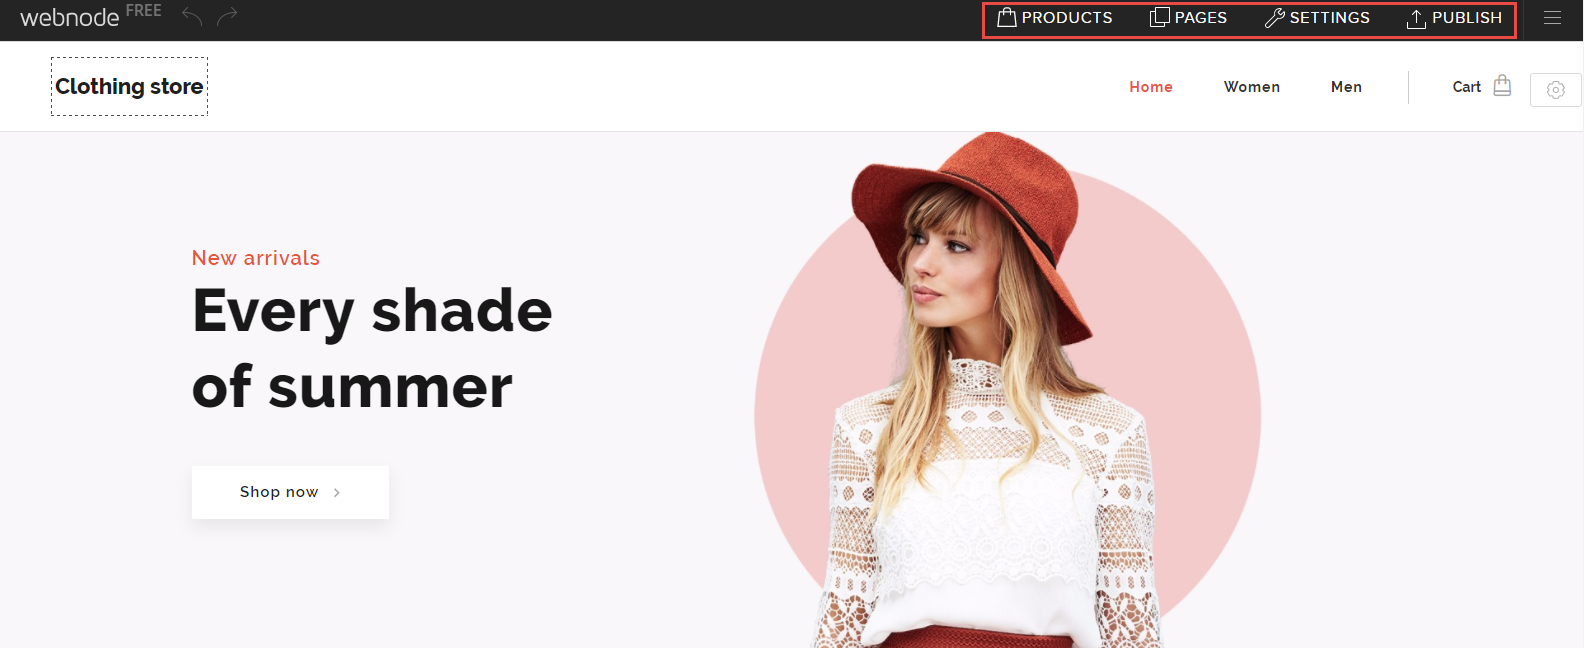
The Webnode editor contains a number of basic menu options.
1. In the upper menu, you will find the following buttons: PRODUCTS, PAGES, SETTINGS and PUBLISH.

Clicking PRODUCTS will allow you to manage your products. From this window, you’ll be able to add new products and edit or delete existing products. Further information can be found in the articles How to Add a Product and How to Edit Products.
From the PRODUCTS window, you are also able to manage your categories.
PAGES
The PAGES menu will allow you to add new pages, change the names of existing pages by clicking on the existing name, hide pages from the menu or even password protect pages.
SETTINGS
In the Online store tab, you can change the General settings (currency, tax details and the email address that will received orders). Your own contact information can be updated in the Contact information tab. You will also be able to manage your shipping and payment methods and tax information. You will also be able to export your product list.
Other tabs in the SETTINGS menu will allow you to manage other aspects of your website such as domains, email addresses, adding collaborators, creating backups or a multi-language website.
PUBLISH
Every time you make changes to your online store, be sure to publish changes with this button so that they will be visible to your visitors and customers. Please keep in mind that once you publish a website, it cannot be unpublished.
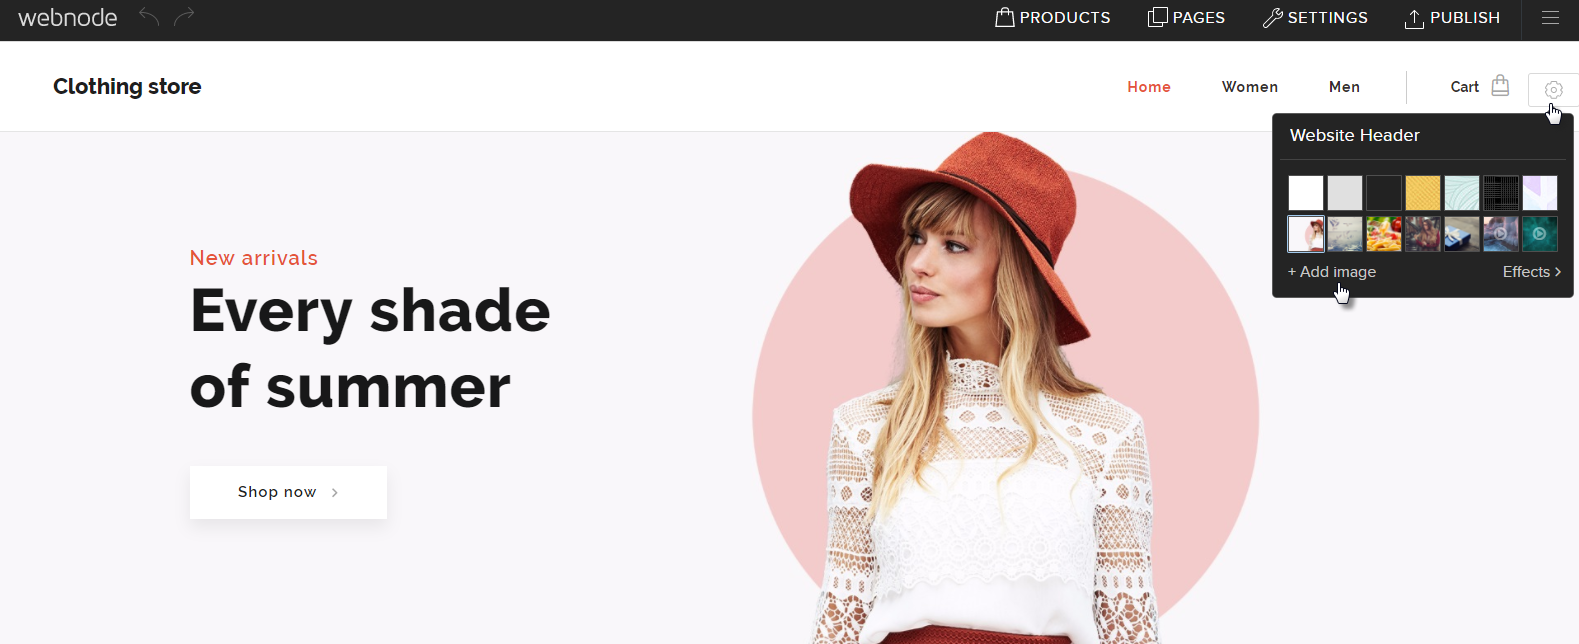
1. The image in the header can be changed by clicking the header settings button. Next, click Add image and choose an image from Webnode’s free image gallery or upload your own. You can then add effects and filters to the image.

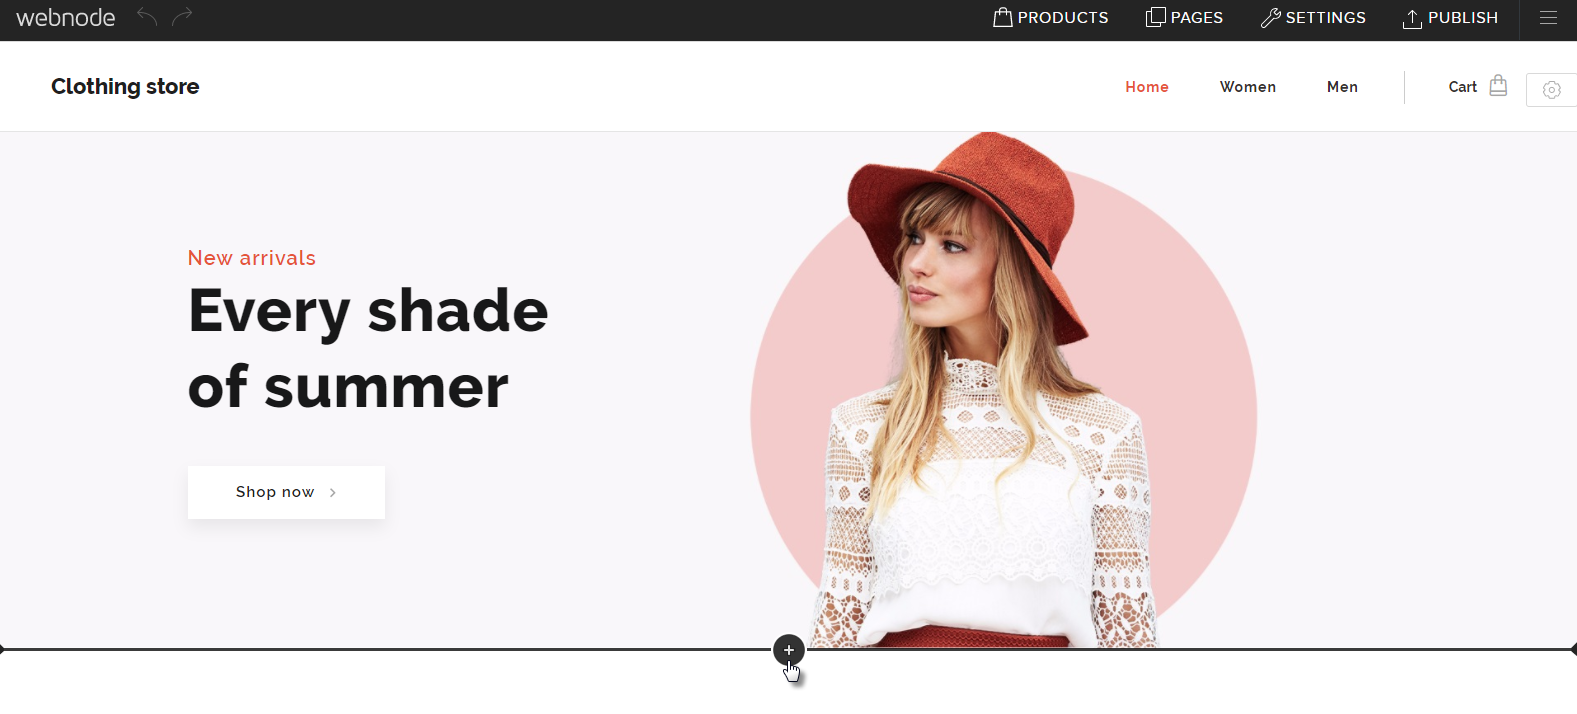
3. Adding a new section such as text and images, services, pricelist or others can be done by clicking the button to add a new section.

4. You can change the background of a section by clicking the settings button for that section. You can then choose an image from the free images available, upload your own or even delete that section.

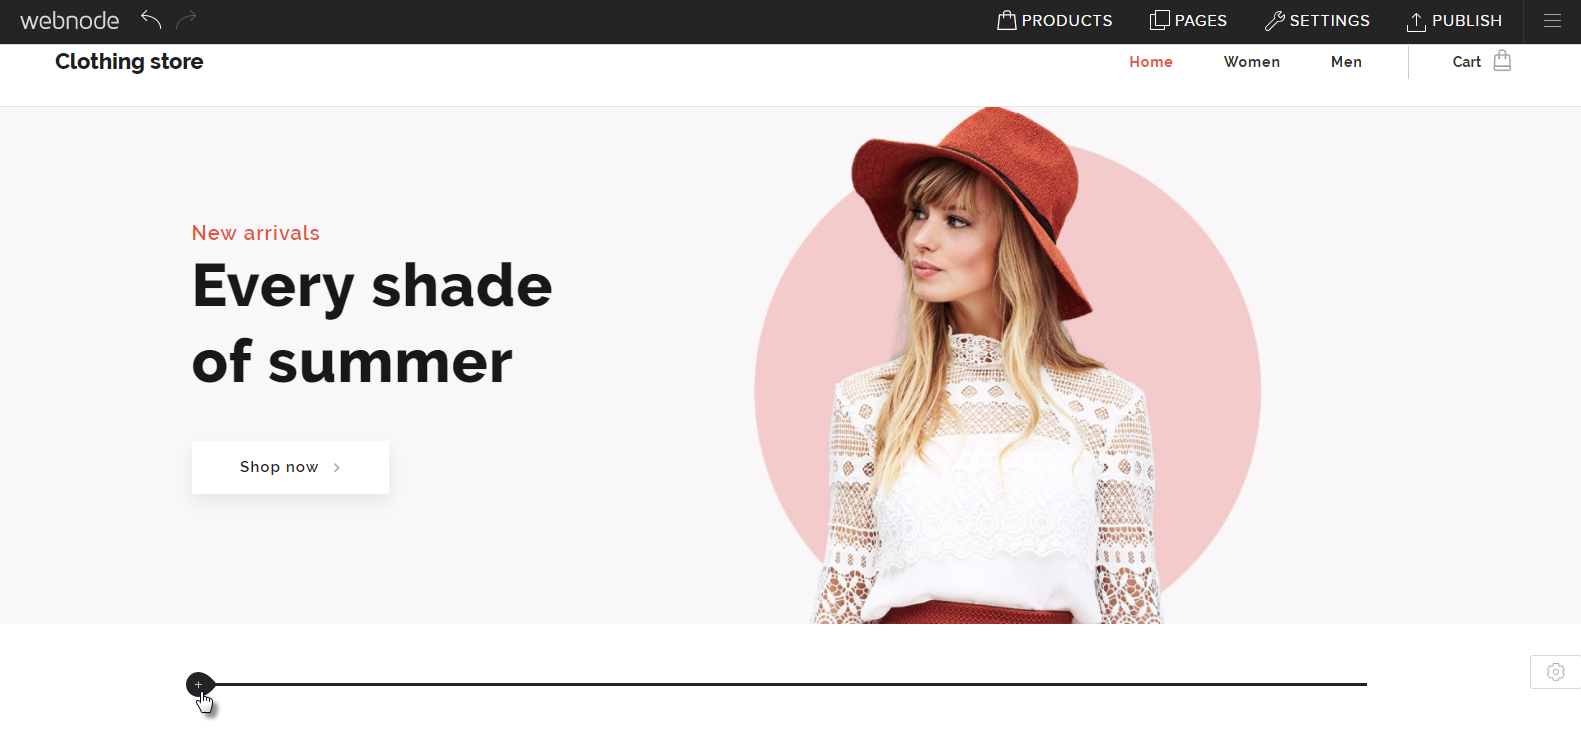
- To add new content within a section, click the plus button that appears. Add an image or text or other content from the menu that opens. Texts and images can then be edited by clicking on it or dragging it to a new area within the section.

- The footer settings button will allow you to change the appearance of the footer such as changing the background image.

Further information about these and other features can be found in the Webnode Knowledgebase for the website editor. Articles specifically related to the online store function will be under the category Online Store.
