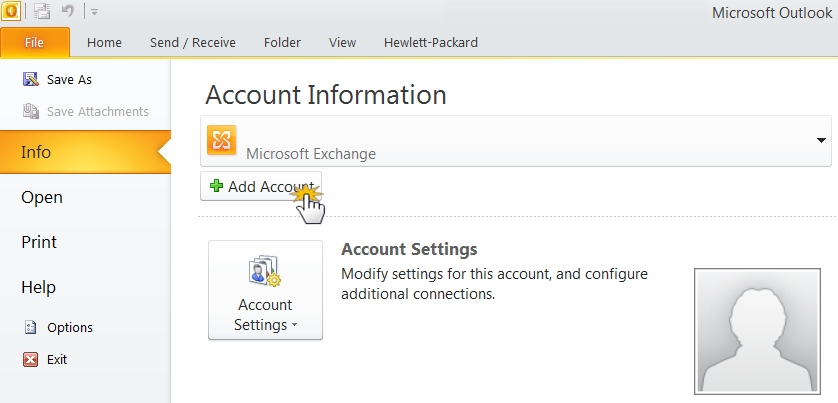
1. Open Outlook 2010 and click File -> Info -> Add Account.
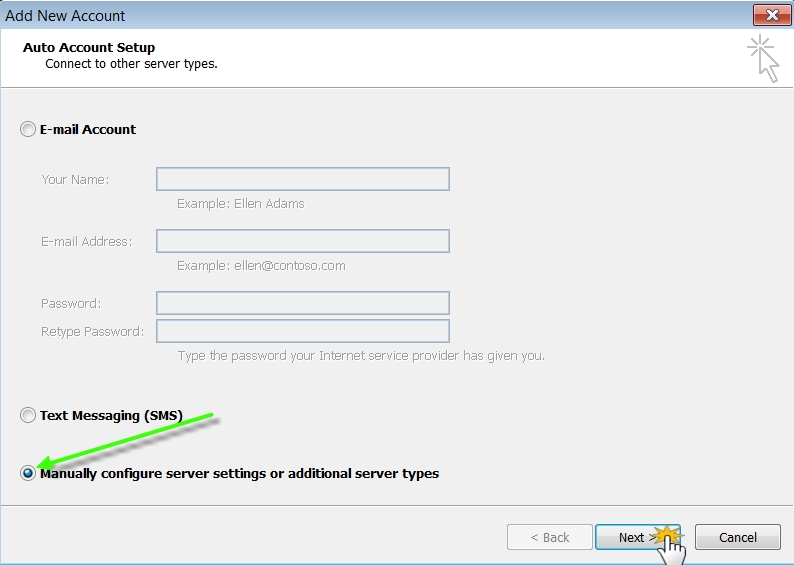
2. Enter the e-mail account you created (eg: contact@laffete.com).
3. Enter the password that you selected for the e-mail account.
4. Check "Manually configure server settings or additional server types."
5. Click on "Next".
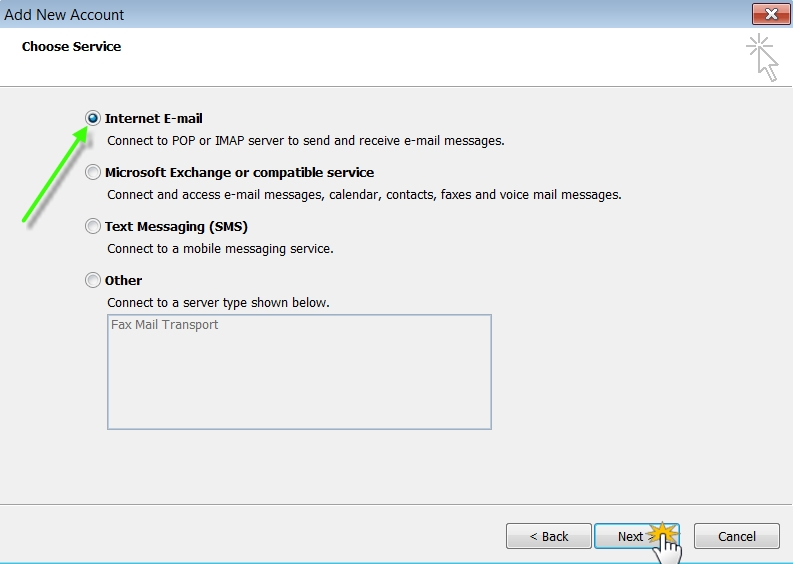
6. Select "Internet E-mail" and click on "Next".
7. Under "Account Type" select "POP3."
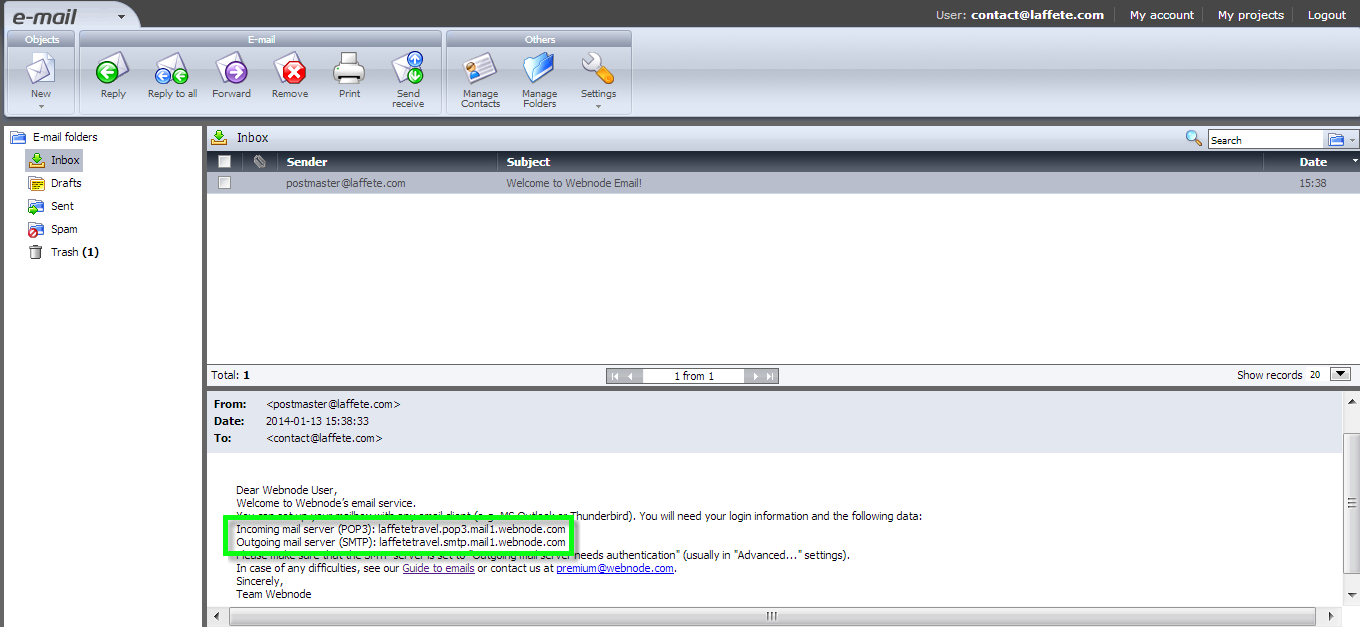
Now, you will need to set up your email account in accordance with the instructions that were sent to you when you first created the new email account in your Webnode administration. To see how to access your Webnode webmail account, please see the article Check mail in my new e-mail account
The email with the instructions will look like this:
8. Access your Outlook account and in "User Name" enter the full e-mail you have created (e.g., contact@laffete.com).
9. Enter the password that you selected for your e-mail account.
10. Click on "More Settings".
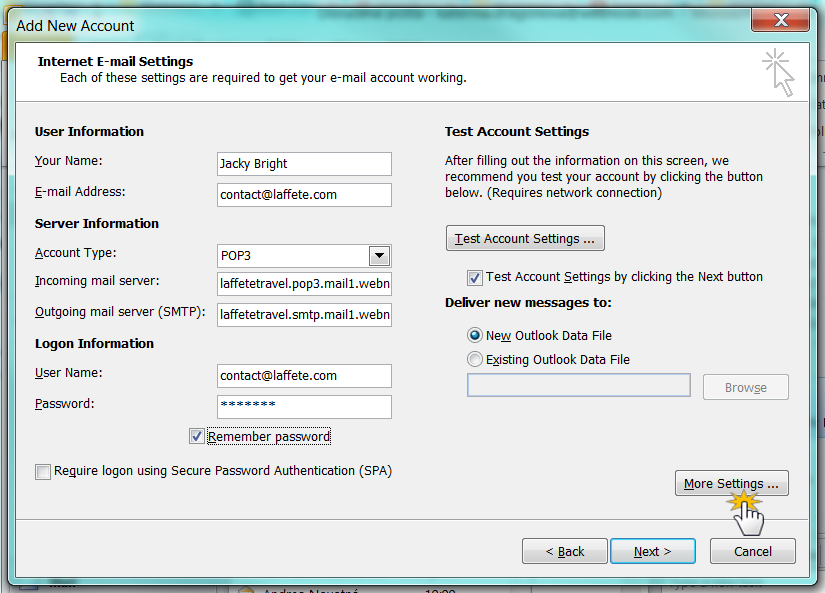
11. In "Outgoing Server" check "My outgoing server (SMTP) requires authentication".
12. Select "Use same settings as my incoming mail server".
13. Click "OK".

14. Click "Next" and finish the setup of the e-mail in Outlook 2010.
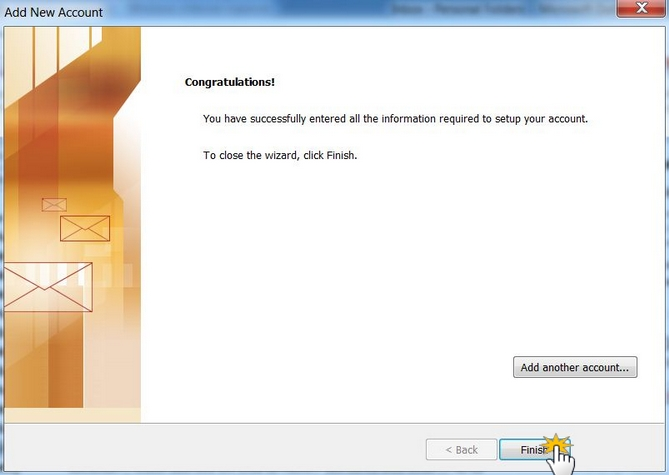
You can now send and receive e-mails at your Outlook 2010 email account using the email address you created through your Webnode Premium Package.
